01Overview
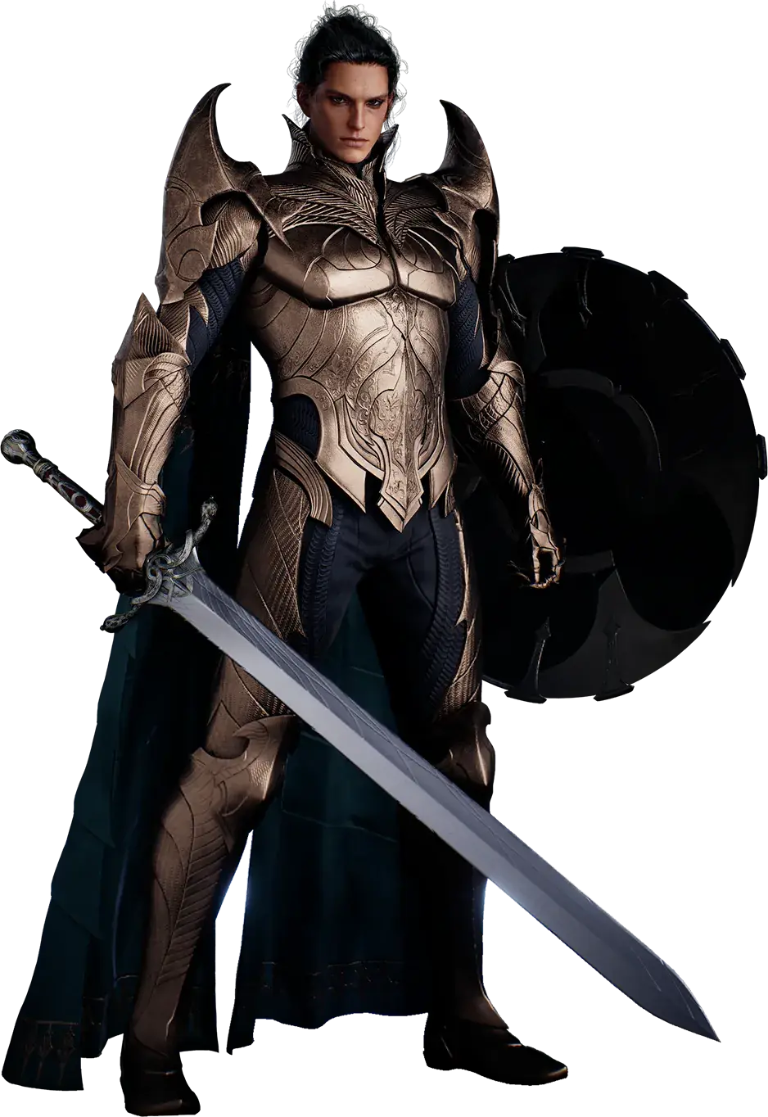
Templar is AION 2's main tank, and it still deals real damage. Its whole build rests on a "holy trinity" of skills taken to 20 as fast as possible —  Judgment,
 Punishment and
 Pummel — that you use as often as you can. Survivability is not what limits a Templar; damage is.
The build in one sentence
Judgment: spam the Judgment line on a side button, hold the macro for Pummel and its procs, charge Punishment on cooldown, and block the big hits to keep  Fury on the party.
02Global Season 1: What Changes
Global servers open on October 5, 2026 (Founder's early access from September 30). What that means for Templar:
- Create three skill presets before launch — PvX, PvP and PvE — so switching content is one click.
- Collect Skill Point Shards early: they gate how fast the holy trinity reaches 20.
- Join a legion — solo Abyss farming is ineffective.
- Check stigma names at launch: some may be renamed in the global client.
03PvE Build Summary
- Judgment20Your core damage: Shield Smite, Warding Strike, Shield Rush and Doom Shield trigger it, and at 16 its cooldown disappears.
- 8Extra damage on hit
- 12Critical Hit on hit
- 16Remove cooldown
+ All specializations
- Charged burst — DoT, guaranteed crit through Block and +30% skill speed. Never take the mobile or HP-absorb picks: "bait" once you have enough attack speed.
- 8Inflicts Damage over Time to target on hit
- 8+30% Skill Speed
- 16Ignores Block and Evasion and lands as a Critical Hit
+ All specializations
- Pummel20Filler and stagger. SolAshur's picks all go into Punishing Strike — it heals you and fires a second time; he skips the −1s Punishment pick. Get it to 20 as soon as possible. trueeevil takes that −1s Punishment pick instead: Punishment comes back sooner — a fair swap for the HP absorb if you don't need the heal.
- 8[Punishing Strike] absorbs 3% HP
- 8Deals up to 12% more damage when less targets are hit
- 16Activates [Punishing Strike] 1 extra time
+ All specializations
 Annihilate16 → 20+100% damage to CC-immune bosses, −10s cooldown. The alternate build takes it to 20 for the AoE knockdown pick. The third slot opens at 20: Multi-Hit for bosses.
- 8+100% damage to targets with Incapacitated Immunity
- 12-10s cooldown
+ All specializations
- Triggers Judgment; −2s cooldown and a 50% chance to proc Debilitating Smash.
- 850% chance to trigger [Debilitating Smash] on hit
- 12-2s cooldown
+ All specializations
- Proc after a block or Shield Smite; ignores Block and Evasion.
- 830% chance to inflict Stun for 3s
- 12Ignores Block and Evasion and lands as Multi-Hit
+ All specializations
- Triggers Judgment; Block and damage tolerance during Warding.
- 8+100 Block during Warding
- 12Adds PvE Damage Tolerance and PvP Damage Tolerance increase effect when more targets hit to Warding
+ All specializations
 Flash Rampage12 → 16Only on Staggered targets; −1s to all cooldowns per hit. In the PvE macro, but skip its Daevanion nodes — it falls off mid-game. The −1s pick needs level 16; at 12 take Multi-Hit and the MP restore.
- 12Multi-Hit on hit
- 16-1s all cooldowns on hit
+ All specializations
- Dodge → dash, triggers Judgment; −10s cooldown and +10m range.
- 8+10m Range
- 12-10s cooldown
+ All specializations
- Basic attack on LMB; 10 from skill points is enough.


04Recommended Skill Investment Order
Push these first:
- Judgment -> 20
- Punishment -> 20
- Pummel -> 20
- Annihilate -> 16 → 20
 Shield Smite -> 16
05Passive Skills
| # | Passive | Why |
|---|---|---|
| 1 | Fury | +PvE Damage Boost for you and the party after every block — the reason groups want a Templar. |
| 2 |  Punishing Benediction | Critical Hit and an extra-damage proc on every hit; the Bell arcana rolls it. |
| 3 |  Insulting Roar | Enmity plus Attack on front attacks. |
| 4 |  Ironclad Defense | Defense and Endurance — the core of the endurance stat build. On SolAshur's character (+6 levels) it gives +37% Defense and +16% Endurance. |
06Gear & Soulbind
If you start on day one, this is the route:
- Holy Spirit set — farm it in the lower Abyss (AP, pets and gold drops per kill, plus boss spawns) or anywhere in the open world. Aim for about 1,600 combat power.
- Skip the first dungeon tier: Urugugu Canyon for the Aulamus Longsword (item level 76, attack 308–385, binds on pickup) and Vakron Sky Island for the Vakron Guard (item level 76) and the Vakron armor. Keep upgrading the Vakron pieces until Fire Temple is doable.
- Use Transcendence to get ready for Fire Temple — the Enraged Kromede Sword (item level 84, attack 340–425, extended range) — and Ferocious Horn (Nuakum armor). Nuakum is the safer farm: nearly every piece is an upgrade, while the weapon chest can drop other classes' weapons.
- End goal — PvE: White Dragon Lord sword, then the guard, then the accessories, with Nuakum armor (full White Dragon armor only adds PvE tolerance and is whale territory). PvX, the setup for most players: Enraged Kromede sword, White Dragon guard, Nuakum armor, White Dragon accessories.
Wings: Dark Veil early (attack bonus, damage boost), Talisra late — Attack 60, Defense 400, Accuracy 35 and 4% cooldown reduction. Stack cooldown reduction as early as you can: shorter shield-skill cooldowns mean more Judgment procs. Collect every other wing too — their "owned" effects and flight power help with Abyss farming.
07Stat Priority
Two stat builds, chosen by what the stats synergize with:
- B · Block + Endurance + Ironclad Defense — late game: at 100% Endurance a hit deals 50% less damage.
Pets (Genus Insight) — don't skip them; in a couple of weeks they are the difference between hitting and missing. Non-special insight gives Attack and Accuracy, special insight Attack and Damage Boost. Level the Genus to 10 as soon as you can for better values. Locking is your first big kinah sink: lock only the important stats that rolled their unique 50% maximum, never filler. Lock slots in this order: 4 → 7 → 2 and 8 → the rest (Attack, Accuracy, Critical Hit).
Pantheon: Wisdom (Double Chance) first, Space (Block); then Illusion (cooldown reduction) for PvE. Don't spend resources forcing portraits early — they unlock as you play.
| Slot | Unique line | Then |
|---|---|---|
| Weapon, guard | Combat Speed + Weapon Damage Boost | Might + Multi-Hit; Precision if under the accuracy cap |
| Helm | Incoming Healing | Attack, Might, Critical Hit, Precision |
| Shoulders | Critical Damage Boost | Attack, Might, Precision, Perfect Chance |
| Chest | Damage Boost | Attack, Might, Critical Hit, Constitution |
| Gloves | Combat Speed | Perfect Chance, Attack, Might, Multi-Hit |
| Legs | Perfect Chance | Damage Tolerance, Attack, Might, Constitution |
| Boots | Move Speed | Perfect Chance, Attack, Might, Dexterity |
| Cloak | Critical Damage Tolerance | Perfect Chance, Damage Tolerance, Attack |
| Rings / earrings / necklace | Rings: your top 4 active skills · Earrings: top 4 passives · Necklace: 2 actives + Attack, Critical Hit, Weapon Damage Boost |
| Slot | Non-special insight | Special insight |
|---|---|---|
| 1, 4, 7 | Critical Hit, Accuracy, Block (or Evasion) | Max Attack, Attack Bonus |
| 2, 5, 8 | Max Attack, Attack Bonus | Max Attack, Attack Bonus |
| 3 | Damage Boost, Weapon Damage Boost, Double Chance or Perfect Chance | |
| 6 | Critical Hit, Accuracy, Damage Tolerance | Damage Tolerance, Weapon Damage Tolerance |
| 9 | Damage Boost, Weapon Damage Boost, Double Chance or Perfect Chance | Damage Boost or Perfect Chance |
08Arcana
| Card | Roll for |
|---|---|
| Chalice (Grail) | Pummel, Punishment |
| Parchment | Judgment, Punishment |
| Compass | Pummel, Shield Smite |
| Bell | Fury, Punishing Benediction |
09Daevanion Boards
Daevanion takes your skills from 10 to 14 and adds stats. Each blue node gives +1 level to its skill.
- Priority: blue nodes for Judgment, Punishment, Pummel, then Shield Smite and Annihilate; orange nodes next.
- Skip: MP nodes (put the points into Attack), Flash Rampage nodes, and the green Warding Shield / Guardian Shield nodes unless you have spare points.
- No Ariel on global: there are five boards, and the level-45 one, Azphel, gives only PvP Damage Boost and Tolerance — in PvE finish the first four.
The route on the boards
The real global boards from the game data. Gold marks the cheapest path from Start to the nodes this guide takes — the blue nodes of the five priority skills and the orange nodes; hover any node to see what it gives.
| Board | Unlock | Orange nodes |
|---|---|---|
| Nezekan | Lv 12 | Combat Speed, Cooldown Reduction |
| Zikel | Lv 20 | Damage Boost, Damage Tolerance |
| Vaizel | Lv 30 | Critical Damage Boost and Tolerance |
| Triniel | Lv 40 | Multi-Hit Chance and Resist |
| Azphel | Lv 45 | PvP Damage Boost and Tolerance — no skill nodes |
10Stigmas
Breadth before depth: put 1 point into all four first, then push Empyrean Lord's Punishment and Battlefield Banner to 5, then chase the breakpoints — Empyrean Lord 10 → 15, Banner 10 → 15, Doom Shield 15.
- AoE damage with big stagger (+50 at 10); at 15 +10% PvE Damage Boost. Needed on bosses with stagger mechanics.
- 5Up to +20% damage when less targets hit
- 10+50 Stagger Gauge Damage
- 15+10% PvE Damage Boost and +5% PvP Damage Boost for 10s on hit
+ All specializations
- Your damage buff: Multi-Hit, Weapon Damage Boost and Attack from Defense. The level-10 and 15 tiers are the good ones.
- 5+10% Multi-Hit Chance for duration
- 10+10% Weapon Damage Boost for duration
- 15+20% Attack increase proportional to Defense
+ All specializations
- Your main Judgment trigger. At 15 it resets on a kill — vital for PvX and pet farming.
- 5Resets [Annihilate] cooldown on hit
- 10+200 Block for 5s on hit
- 15Resets cooldown on defeating an enemy
+ All specializations
- Aggro in group content. Solo, take Nezekan's Shield instead.
- 5Adds 10% PvE Damage Tolerance reduction and 5% PvP Damage Tolerance reduction effect to Shrink
+ All specializations
 Nezekan's Shieldalt.Survivability swap; not good before 15.
- 5+20% all Element Tolerance for Protective Shield duration
- 10+2s Protective Shield duration
- 15+20% PvE Damage Tolerance and +10% PvP Damage Tolerance for Protective Shield duration
+ All specializations
 Comrade in ArmsgroupSurvivability swap in dungeons, in place of Doom Shield. No use solo.
- 5Restores 25% of Max HP once if hit during Comrade in Arms while HP is 25% or less
- 10x1.5 [Guarding Seal] Protective Shield effect for the duration
- 15x1.5 [Block Pain] effect for the duration
+ All specializations
 Executing Bladesolo · starttrueeevil's day-one PvE pick: −30% Defense on the target, and Exposed at 10. Open with it, then Punishment. A solo and early alternative to Empyrean Lord's Punishment or Taunt.
- 5-15s cooldown
- 10Inflict Exposed for 5s on hit
+ All specializations
 Noble Armorsolo · startMax HP and Defense for 2 minutes on a 2-minute cooldown — always up. trueeevil runs it solo; in a group Taunt and the stagger stigma matter more.
- 5+5% Defense for the duration
+ All specializations
11Macro & Rotation
AION 2 has two separate tools:
- Hotbar line — several skills stacked on one hotbar button. Pressing it casts the highest-priority skill that's ready, and in AION 2 the bottom slot has the highest priority. The cards show each line top to bottom as in the game.
- In-game macro — while you hold its key, it presses your hotbar lines in order and cancels animation tails. Skills on cooldown are skipped.
1. Hotbar lines
Flash Rampage only hits a Staggered target — the rest of the time the macro skips it, and in stagger windows every hit takes 1s off all cooldowns.Flash Rampage goes,  Doom Shield takes the top priority and the rest move down. It sits in the Judgment line too on purpose: here it opens the fight — a rush and a guaranteed knockdown on NPCs that unlocks Annihilate — and at level 15 it resets on a kill, the key to PvX and pet farming.
2. Keys
- LMB
 Vicious Strike (quick slot 1).
- RMBThe in-game macro (Pummel line), 10 ms.
- Side buttonThe Judgment line.
- By handCharged Punishment on cooldown,
 Battlefield Banner,
 Empyrean Lord's Punishment for stagger,
 Taunt.
12Recap
- Skills: Judgment, Punishment, Pummel 20 first; Annihilate and Shield Smite 16; the rest 12.
- Stigmas: Empyrean Lord's Punishment, Battlefield Banner, Doom Shield, Taunt — 1 point in each, then the breakpoints.
- Stats: Block + Evasion + Dexterity early, Block + Endurance late; don't skip pets.
- Gear: Holy Spirit → Urugugu / Vakron → Fire Temple and Ferocious Horn → White Dragon weapon, guard and accessories.